How to Create a Parallax Hover Effect with Webflow
March 13, 2020

by Karr Fager

I'm going to show you how to easily add a parallax effect that reacts based on where your mouse is on the screen.
This, as the title suggests, will be done in Webflow since the platform already has the tools we need built-in, which will help us achieve the effect.

There are three steps involved:
Since the assets you are using might be quite different than the ones I used in my project, I am just going to give a brief overview of what is needed.
The assets need to be PNG's with an alpha channel.
This means that you will have an object with transparent space behind it. Here is what my mountain assets look like with the background removed:

I used Adobe Photoshop to create the alpha channel. Here's the basic idea.
You can also use a free software called GIMP to remove the background.
I used three assets in this example:
Now that we've created our assets, we need to add them to Webflow along with a bit of styling.
The basic idea is to create a full-width section with a background image set to cover, and then all the rest of our images rest on top of the background image (in other words, they are set to an 'Absolute' position).
Here are the steps used in my example:
Width: 120 VW, Height: 110 VH, Display: Flex, Direction: Vertical, Align: center, Justify: center, Background image: cover (this is my sky background).
First image (back mountain):
Width: 120 VW, Position: Absolute (Full), Z-Index: 4
Second image (front mountain):
Width: 120 VW, Position: Absolute (Full), Z-Index: 6
This is pretty self-explanatory. Just make the header and text are set to Z-index of 5. The button should be set to Z-index of 7 or higher.
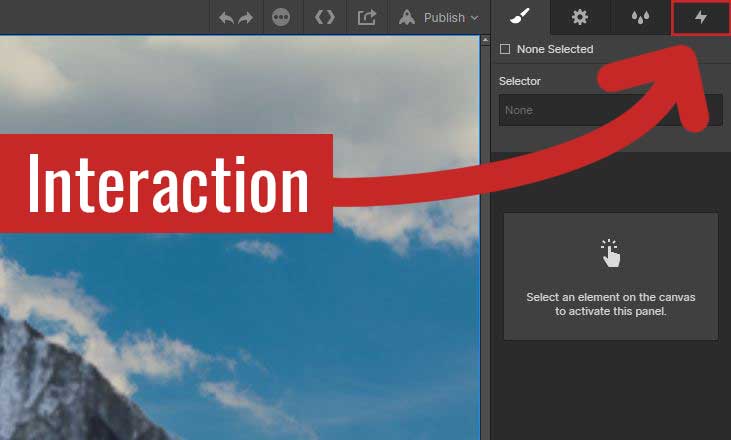
Here is what my finished interaction settings look like:

Finished product:

